Gluten Free Sandwich Bread
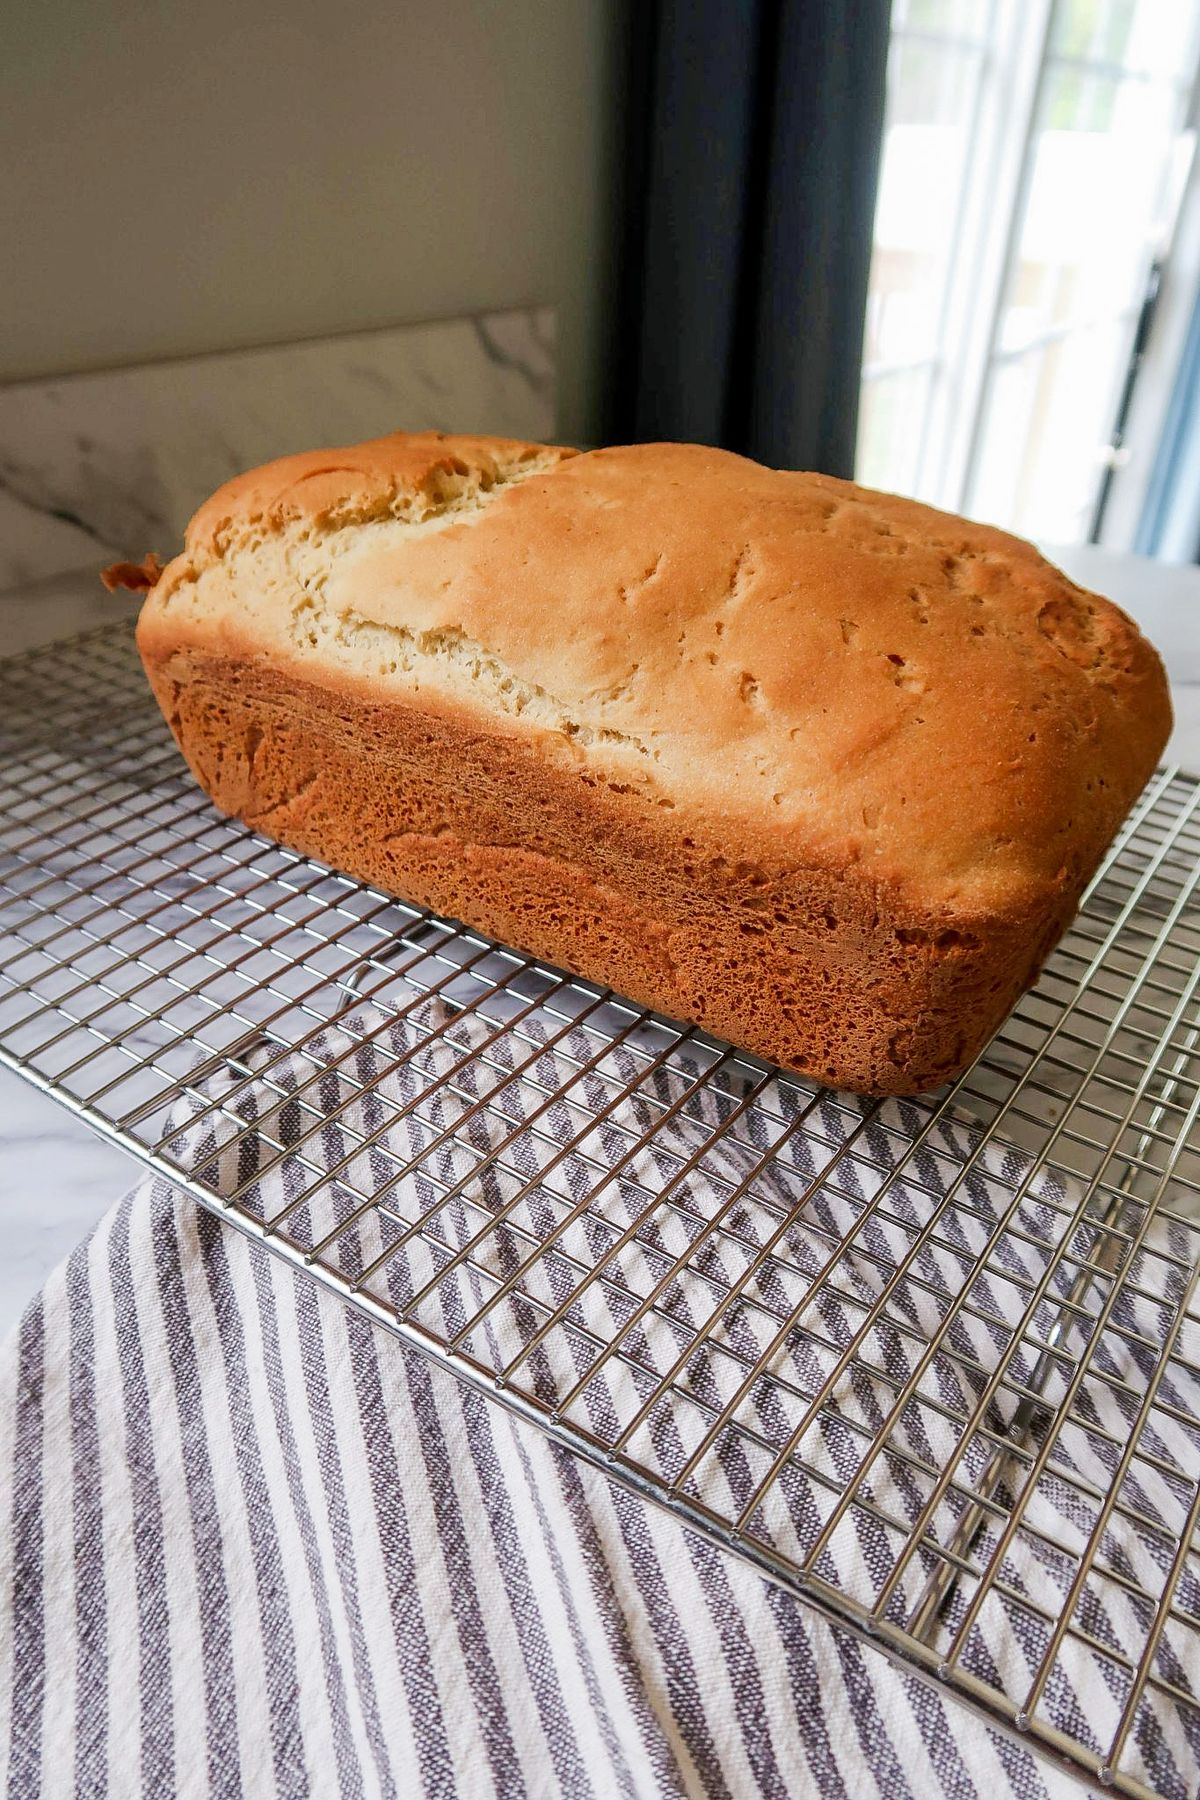
🍞 Gluten-Free Sandwich Loaf: Soft, Airy & Wonderfully Sliceable
Few things compare to the comforting scent of homemade bread drifting through the house — warm, soothing, and nostalgic. For anyone avoiding gluten, finding a loaf that feels and tastes like real bread can be a struggle. This recipe changes that story.
This gluten-free sandwich loaf turns out soft and springy inside, with a golden crust that toasts beautifully. It slices cleanly, holds fillings perfectly, and makes a stellar base for sandwiches, toast, or even French toast.
It’s everything you love about fresh bread — only without the gluten, dryness, or heaviness you often find in store-bought versions.
🕒 Preparation Overview
Prep: 25 minutes
Rise: 45–60 minutes
Bake: 35–40 minutes
Cool: 1 hour
Total: Around 2 hours 30 minutes
Yield: 1 loaf (about 12 slices)
🧂 What You’ll Need
Dry Ingredients
- 2 ½ cups (300 g) gluten-free all-purpose flour (with xanthan gum included)
If your blend doesn’t include it, add 1 ½ tsp separately. - ¼ cup (30 g) sorghum flour – adds that subtle wheat-like aroma
- ¼ cup (30 g) tapioca or potato starch – for softness and elasticity
- 1 ½ tsp salt
- 1 tbsp sugar (or honey for a natural sweetness)
Wet Ingredients
- 1 packet (2 ¼ tsp) active dry yeast
- 1 ¼ cups (300 ml) warm water (about 105°F / 40°C — comfortably warm, not hot)
- 3 tbsp olive oil or melted butter
- 2 large eggs (room temperature)
- 1 tsp apple cider vinegar or lemon juice (helps with lift and texture)
Optional
- 1 tbsp honey or maple syrup for a touch of sweetness
- 1 tsp psyllium husk powder for extra chew
- 1 tbsp milk or water to brush on top before baking
🍽️ Step-by-Step Directions
1. Wake Up the Yeast
Combine the warm water, sugar, and yeast in a small bowl.
Stir lightly, then let it rest 5–10 minutes until the surface turns foamy.
If it doesn’t bubble, your water temperature was off — start again with fresh yeast.
2. Mix the Dry Ingredients
In a large mixing bowl (or stand mixer bowl), whisk together the flour blend, sorghum flour, starch, salt, and optional psyllium.
Make sure everything’s evenly combined — this helps your loaf bake with an even crumb.
3. Add the Wet Ingredients
Pour in the activated yeast mixture, oil, eggs, and vinegar.
Using a paddle attachment, mix on medium for 3–4 minutes.
The dough should resemble a thick, sticky batter — smooth but not stiff like traditional bread dough.
Scrape down the sides to make sure no dry spots remain.
4. Shape the Dough
Grease a 9×5-inch loaf pan or line it with parchment.
Spoon in the dough and smooth the top with a wet spatula or damp fingers.
Shape it gently into a rounded dome for a classic look.
5. Let It Rise
Cover loosely with plastic wrap or a towel.
Set in a warm, draft-free space (like a turned-off oven with the light on) for 45–60 minutes, until it puffs up just above the pan’s rim.
Note: Gluten-free dough won’t double in size — a modest rise of about 30–40% is perfect.
6. Bake to Golden Goodness
Preheat the oven to 375°F (190°C) about 15 minutes before baking.
Brush the top with milk, oil, or water for shine.
Bake 35–40 minutes, until the crust is deep golden and a thermometer reads 200°F (93°C) inside.
If the top darkens too fast, tent it loosely with foil near the end.
7. Cool Completely
Let the loaf sit in the pan for 10 minutes, then transfer to a wire rack.
Allow it to cool fully — at least 1 hour — before cutting.
Slicing too soon traps steam and makes the crumb gummy.
🧈 How to Serve It
- Everyday Sandwiches: Stack turkey, cheese, and crisp lettuce.
- Toast: Spread with butter, jam, or avocado.
- French Toast / Grilled Cheese: Ideal texture for soaking or melting.
- Croutons or Breadcrumbs: Use stale slices to add crunch to soups or salads.
💡 Tips & Tricks from the Kitchen
- Pick a Reliable Flour Blend
A balanced mix is essential — rice flour for body, starch for fluff, and xanthan or guar gum for structure.
To DIY your own:- 2 cups white rice flour
- ⅔ cup potato starch
- ⅓ cup tapioca starch
- 1 ½ tsp xanthan gum
- Moisture Makes Magic
The batter should be thick but slightly sticky — drier dough leads to dense bread.
Add a tablespoon or two of warm water if needed. - Eggs Add Lift
They give structure and help with rise.
For egg-free versions:- 3 tbsp aquafaba per egg, or
- 1 tbsp ground flax + 3 tbsp warm water (sit 5 min).
The texture will be a bit heartier.
- Cool Before Cutting
Patience pays off — cooling sets the crumb and prevents gumminess. - Store It Right
- Room Temp: Airtight container, up to 3 days.
- Fridge: Up to 6 days — warm slices before eating.
- Freeze: Wrap individual slices, freeze up to 2 months, toast straight from frozen.
- Add Flavor Flair
A drizzle of honey, molasses, or maple syrup deepens taste and color.
Sprinkle seeds (sesame, chia, sunflower) on top for rustic charm.
🌾 Why You’ll Fall for This Bread
- Soft, flexible, and non-crumbly
- No fancy tools beyond a mixer and loaf pan
- Works for breakfast, lunch, or meal prep
- Made from scratch with full control over ingredients
🏆 Final Slice of Thought
This gluten-free loaf proves that skipping gluten doesn’t mean giving up good bread.
With a tender crumb, beautiful crust, and irresistible aroma, it’s a loaf that easily competes with — and often surpasses — wheat bread.
Serve warm, toast to crisp perfection, or use it for your favorite sandwich.
Each slice brings back the timeless joy of homemade baking, one golden piece at a time.
🧾 Nutrition (Per Slice, Approx. 1/12 Loaf)
| Nutrient | Amount |
|---|---|
| Calories | 160 kcal |
| Protein | 4 g |
| Fat | 5 g |
| Carbs | 25 g |
| Fiber | 2 g |
| Sugar | 2 g |
| Sodium | 230 mg |
| Cholesterol | 35 mg |
| Calcium | 15 mg |
| Iron | 1 mg |
Related Posts
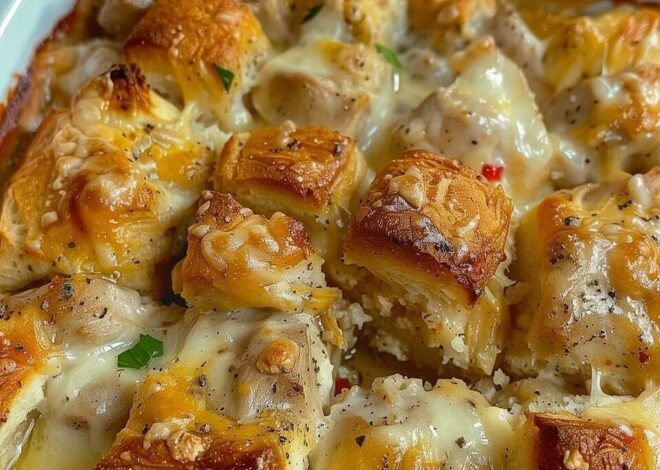
Homemade Chicken Bubble Biscuit-Bake Casserole
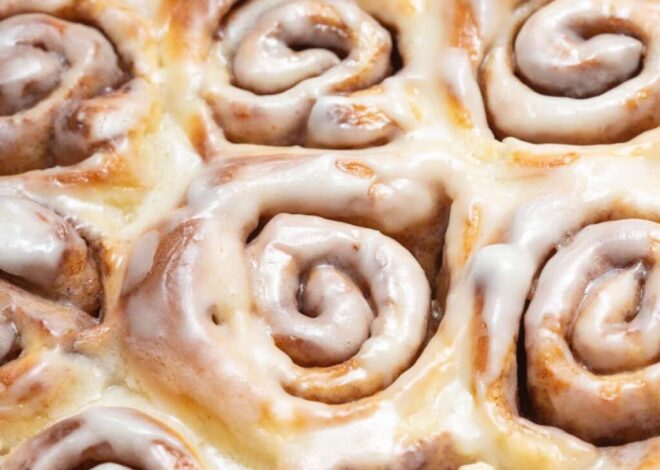
Soft and Fluffy Gluten-Free Cinnamon Rolls