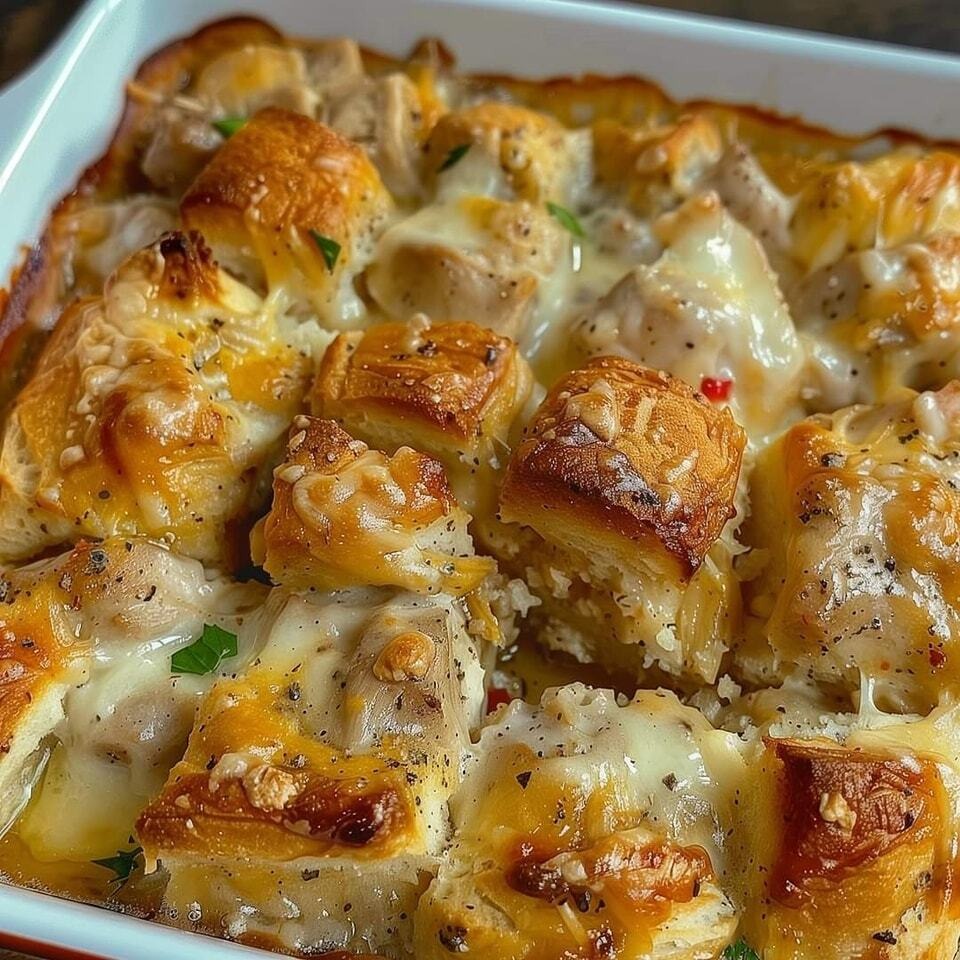
Homemade Chicken Bubble Biscuit-Bake Casserole
A Heartwarming Family Classic
Few dishes can match the cozy satisfaction of pulling a bubbling casserole from the oven — the creamy sauce simmering beneath a blanket of tender chicken and golden, buttery biscuits. Every spoonful feels like nostalgia served warm. This Homemade Chicken Bubble Biscuit-Bake Casserole brings together everything you crave in comfort food — a velvety filling rich with chicken and vegetables, melting cheese woven through every bite, and pillowy biscuit bubbles that bake into soft, golden clouds.
Ideal for busy weeknights, family gatherings, or those crisp evenings when you want something hearty and soothing, this casserole delivers the soul of a homemade chicken pot pie — without the hassle of rolling out crusts or fussing with dough. It’s simple, satisfying, and irresistibly cozy.
Recipe Snapshot
- Course: Main Course
- Cuisine: Classic American Comfort
- Skill Level: Easy to Moderate
- Preparation Time: 20 minutes
- Baking Time: 35–40 minutes
- Total Duration: Around 55–60 minutes
- Serves: 6–8 generous portions
- Approximate Calories: 520 kcal per serving
Ingredients
For the Creamy Chicken Filling
- 2 ½ cups cooked chicken — shredded or cubed (rotisserie chicken works beautifully)
- 1 cup frozen mixed vegetables (peas, carrots, corn, green beans, etc.)
- 1 can (10.5 oz / 295 g) cream of chicken soup — or make the simple homemade version below
- ½ cup sour cream or plain Greek yogurt
- ½ cup milk (whole or 2%)
- 1 small onion, finely diced
- 2 garlic cloves, minced
- 1 cup shredded cheddar (or mozzarella for a milder flavor)
- 2 tbsp unsalted butter
- 1 tsp salt
- ½ tsp black pepper
- ½ tsp paprika
- ½ tsp dried thyme (optional, for an herbal lift)
- ¼ tsp crushed red pepper flakes (optional, for a gentle kick)
For the Biscuit “Bubbles”
- 1 can (16 oz / 450 g) refrigerated biscuits (such as Pillsbury Grands)
or prepare your own homemade biscuit dough — recipe below - 2 tbsp melted butter (for brushing before baking)
Homemade Cream of Chicken Alternative (Optional)
Skip the canned soup and make your own creamy substitute in minutes:
- 2 tbsp butter
- 2 tbsp all-purpose flour
- ¾ cup chicken broth
- ½ cup milk
- ¼ tsp salt
- ¼ tsp garlic powder
- ¼ tsp onion powder
Method:
Melt butter in a saucepan over medium heat. Whisk in flour and cook for 1 minute to eliminate the raw flavor. Gradually whisk in chicken broth and milk, stirring until thick and smooth. Add seasonings, remove from heat, and use as a 1:1 replacement for canned soup.
Step-by-Step Directions
Step 1 – Cook the Chicken (If Needed)
If starting with raw chicken, boil two chicken breasts in lightly salted water or broth for 15–18 minutes, until tender. Let them cool slightly, then shred or chop.
For convenience, use leftover roasted chicken or a store-bought rotisserie bird — it adds rich flavor instantly.
Step 2 – Sauté the Base
In a large skillet, melt 2 tablespoons of butter over medium heat.
Add the onion and garlic, sautéing for about 2–3 minutes until soft and aromatic.
Toss in the frozen vegetables and cook another 3–4 minutes, letting them warm and soften slightly.
Add the cooked chicken to the pan and stir everything together.
Step 3 – Craft the Creamy Sauce
Pour in the cream of chicken soup, sour cream, milk, and all the seasonings (salt, pepper, paprika, thyme, and red pepper flakes).
Stir gently until the mixture is velvety and well combined.
Fold in ¾ cup of cheese, keeping the last ¼ cup for the topping.
Taste — the sauce should already be flavorful before baking. Remove from heat.
Step 4 – Prepare the Biscuit Bubbles
If using refrigerated biscuit dough, cut each biscuit into quarters (or smaller for extra “bubbling”).
Toss the biscuit pieces into the creamy chicken mixture so they’re evenly coated.
💡 Tip: For a more layered casserole, you can pour the chicken filling into your baking dish first and scatter the biscuit pieces on top. Mixing them in gives you soft, pillowy biscuits throughout; layering creates a golden, crisp top.
If making homemade biscuits, combine:
- 2 cups all-purpose flour
- 1 tbsp baking powder
- 1 tsp salt
- 6 tbsp cold butter (cubed)
Use a pastry cutter or your fingertips to blend until crumbly. Add ¾ cup milk and stir just until combined.
Cut or tear into small pieces and proceed as above.
Step 5 – Assemble the Bake
Preheat your oven to 375°F (190°C).
Grease a 9×13-inch baking dish with butter or cooking spray.
Spread the chicken-biscuit mixture evenly in the dish.
Sprinkle the remaining cheese over the top.
Brush the biscuit pieces with melted butter to help them bake into a golden crust.
Step 6 – Bake Until Golden
Place uncovered in the oven and bake for 35–40 minutes, or until the top is a rich golden brown and the biscuits in the center are fully cooked.
If the surface starts browning too quickly, loosely cover with foil for the final 10 minutes.
Step 7 – Rest & Garnish
Let the casserole rest for 5–10 minutes before serving. This allows the creamy sauce to thicken slightly and the biscuits to set.
Sprinkle with fresh parsley or thyme leaves for a bright, fresh finish.
Serving Ideas
This casserole shines on its own but pairs perfectly with:
- A crisp green salad tossed in ranch or honey-mustard dressing
- Steamed broccoli or roasted asparagus
- Sweet buttered corn or sautéed green beans
- A tall glass of iced tea, lemonade, or sparkling water with lemon
Serve it family-style — right from the baking dish — for a warm, rustic touch.
Storage & Reheating
Refrigerate: Store leftovers in an airtight container for up to 4 days.
Freeze: Seal tightly and freeze for up to 2 months. Thaw overnight in the refrigerator.
Reheat: Warm individual portions in the microwave for 1–2 minutes, or reheat the entire dish at 350°F (175°C) for 15–20 minutes, until piping hot.
Recipe Tips & Creative Variations
Bacon Boost:
For a touch of smoky indulgence, mix in a handful of crisp, crumbled bacon before baking. It adds a savory crunch that takes the casserole’s flavor to another level.
Bring the Heat:
If you love a bit of spice, stir in finely diced jalapeños or drizzle a few drops of your favorite hot sauce into the creamy mixture. It gives the dish a lively kick without overpowering the comforting flavors.
Cheese Lover’s Dream:
For an ultra-gooey texture, simply double up on the shredded cheese. The extra melt creates a luscious, golden blanket of flavor over every bite.
Lighter, Healthier Twist:
Swap the sour cream for thick Greek yogurt to lighten the dish while keeping it creamy. You can also fold in extra vegetables — spinach, zucchini, or mushrooms — to boost the nutrition and freshness.
Gluten-Free Friendly:
Use gluten-free biscuit dough or make your own from gluten-free flour. Replace the canned soup with a homemade, gluten-free cream base for a cozy casserole everyone can enjoy.
Meat-Free Makeover:
For a satisfying vegetarian version, trade the chicken for sautéed mushrooms and a handful of chickpeas. Use vegetable broth in the sauce for a hearty, meatless comfort bake that still delivers all the flavor.
Nutritional Breakdown (Per Serving)
| Nutrient | Amount |
|---|---|
| Calories | ~520 kcal |
| Protein | 29 g |
| Total Fat | 26 g |
| Saturated Fat | 11 g |
| Cholesterol | 90 mg |
| Carbohydrates | 40 g |
| Sugars | 6 g |
| Dietary Fiber | 2 g |
| Sodium | 780 mg |
| Calcium | 180 mg |
| Iron | 2.5 mg |
(Nutrient values are approximate and may vary based on ingredient brands, measurements, and portion sizes.)
Chef’s Notes (Rewritten with Unique, Natural Flow)
- Handle with care: When preparing homemade biscuit dough, mix it only until it comes together. Overworking the dough can make the biscuits tough instead of tender — gentle handling keeps them light and airy.
- Watch for the bubble cue: The casserole is perfectly baked when you see the edges actively bubbling. That’s your signal the sauce has thickened beautifully and the biscuit pieces are cooked through.
- Patience pays off: Let the dish rest for about 10 minutes before serving. This short pause allows the creamy sauce to settle and the biscuits to firm up slightly, so every spoonful comes out rich, cohesive, and picture-perfect.
Related Posts
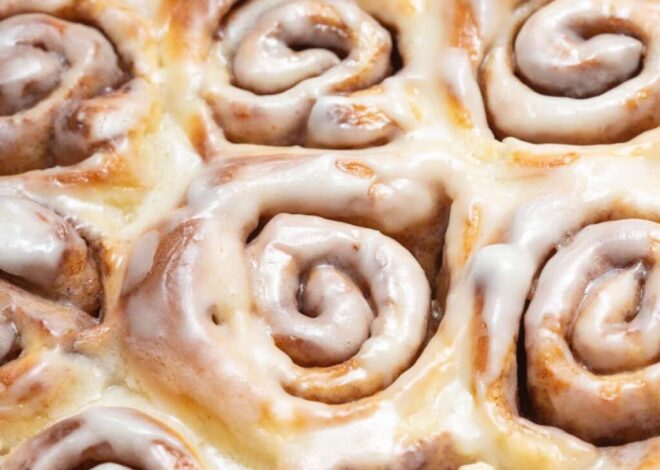
Soft and Fluffy Gluten-Free Cinnamon Rolls
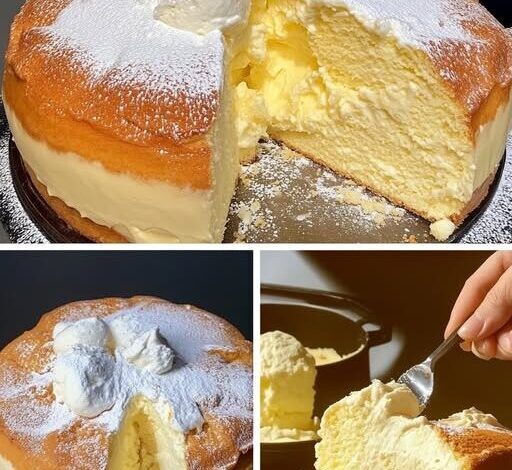
Keto Fluffy Cloud Cake